Node-RED Introduction
- 13 May 2025
- Imprimir
- DF
Node-RED Introduction
- Actualizado el 13 May 2025
- Imprimir
- DF
The content is currently unavailable in Spanish (Mexico). You are viewing the default English version.
Resumen del artículo
¿Te ha resultado útil este resumen?
Gracias por tus comentarios
This document provides an introduction to Node-RED as implemented in the OV20i camera system, explaining key concepts and features that help you create powerful inspection workflows.
What is Node-RED?
Node-RED is a flow-based programming tool that provides a browser-based editor for visually connecting hardware devices, APIs, and online services. Originally developed by IBM, it has become an open-source project that offers a low-code approach to automation and data processing.
The OV20i camera leverages Node-RED as its automation platform, allowing you to create sophisticated inspection workflows with minimal coding knowledge. Through a simple drag-and-drop interface, you can quickly develop complex logic that would otherwise require extensive programming expertise.
Key Concepts in Node-RED
Flows
Flows are the visual representations of your automated processes. Each flow consists of nodes connected by wires that represent how data moves through the system. The OV20i camera uses flows to process inspection results and communicate with external systems.
Nodes
Nodes are the building blocks of your flows, each representing a specific function or capability:
- Input nodes - Receive data (e.g., camera triggers, HTTP requests)
- Processing nodes - Transform or analyze data (e.g., classification logic)
- Output nodes - Send data to external systems or trigger actions (e.g., PLC communication)
Messages
Nodes communicate by passing messages to each other. In the OV20i system, these messages often contain:
- Inspection results
- Metadata about inspected objects
- Commands for external systems
- Trigger signals
Essential Node-RED Features
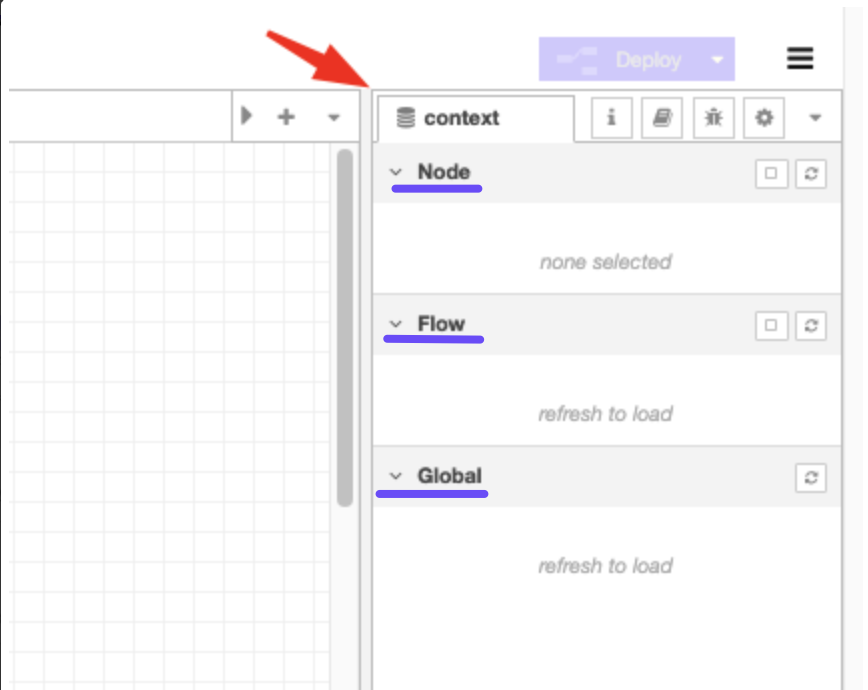
Context Storage
Node-RED provides a method for storing information that can be shared between different nodes without relying on messages that pass through a flow.
The 'scope' of a particular context value determines who can access it:
| Scope Type | Visibility | Use Case |
|---|---|---|
| Node Context | Only visible to the node that set the value | Storing node-specific temporary state information |
| Flow Context | Visible to all nodes on the same flow (tab) | Sharing data between nodes within the same flow |
| Global Context | Visible to all nodes across all flows | Application-wide state or configuration |
Benefits of Context Storage
- Data Persistence - Store data between message flows
- Scope Flexibility - Different levels of data sharing
- State Management - Maintain application state across nodes
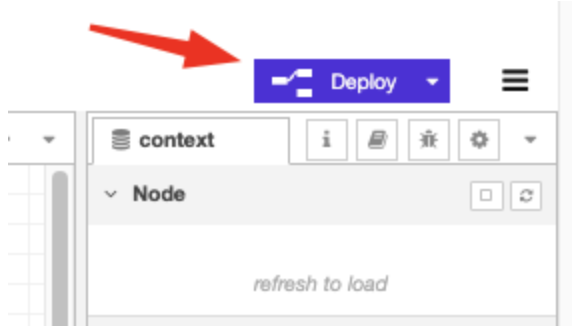
Deploy Button
The Deploy button in Node-RED allows you to apply and push configurations to the runtime environment.
- Full Deploy - Updates all nodes and flows
- Modified Nodes - Updates only the nodes that have been changed
- Modified Flows - Updates only the flows containing modified nodes
Importing and Exporting
Node-RED allows you to export and import flow configurations as JSON files, enabling:
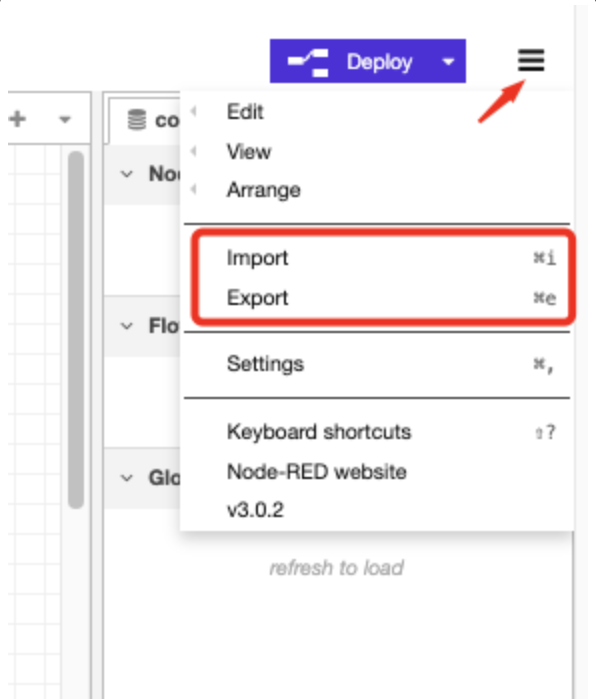
- Backup of your camera configurations
- Sharing flows between team members
- Moving configurations between different cameras
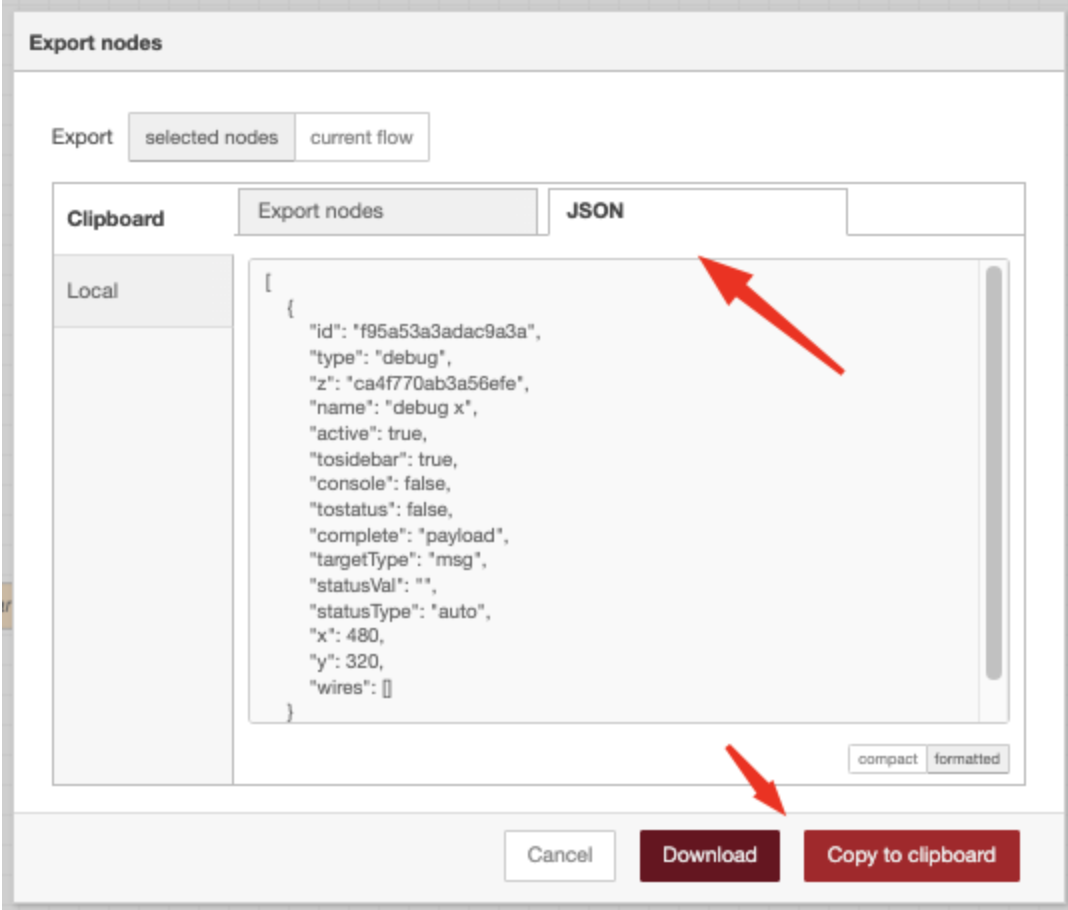
Export Process
- Open the camera's Node-RED Editor
- Select the flows you want to export
- Click the menu button and select "Export"
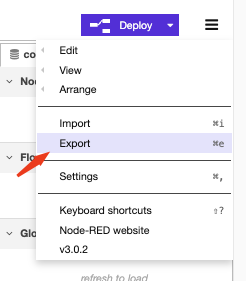
- Choose the JSON format
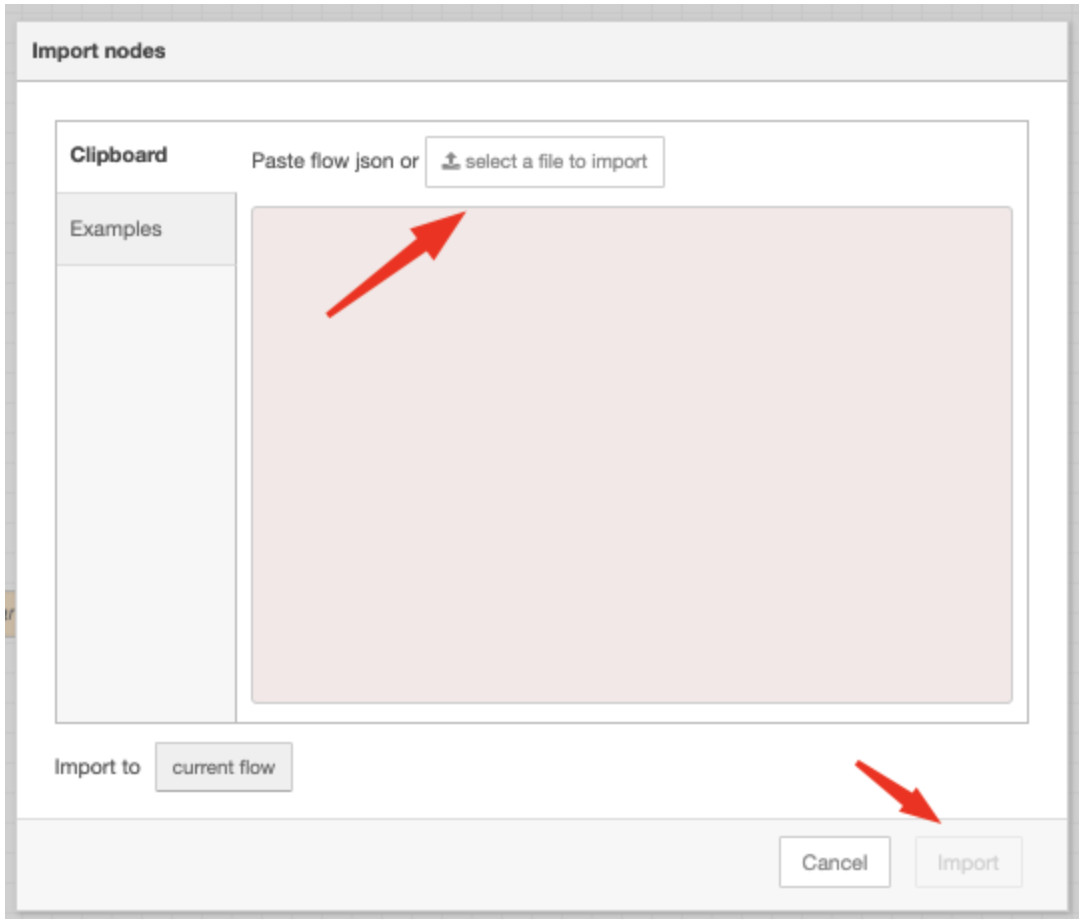
Import Process
- Open the camera's Node-RED Editor
- Click the menu button and select "Import"
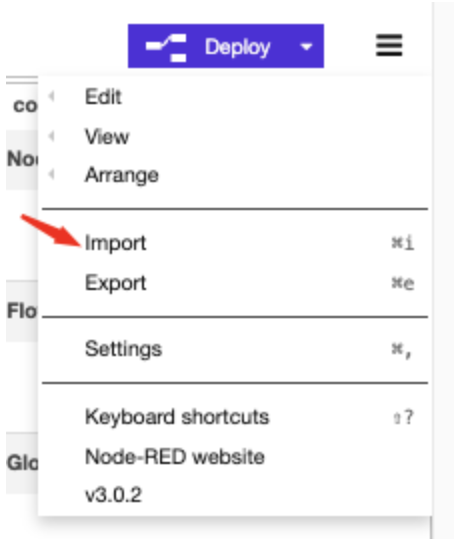
- Paste the JSON data or upload the JSON file
- Click "Import" to integrate the configuration
- Deploy to apply the new flows
Debug
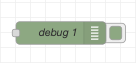
1. Purpose and Functionality
The Debug node displays messages in the Node-RED editor's Debug sidebar, facilitating development and troubleshooting of inspection flows.
2. Key Features
- Structured message view in the Debug sidebar
- Detailed information about message timing and source
- Ability to locate source nodes in the workspace
- Toggle capability for enabling/disabling debug output
Dashboard Capabilities
The Node-RED Dashboard provides a web-based interface for monitoring and controlling your camera system through a customizable UI.
Key Components
- Layout Manager - Organize UI components
- UI Nodes - Add specific interface elements
- Theme Customization - Personalize appearance
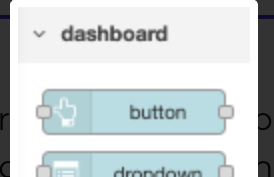
Common UI Elements
- Buttons - Trigger actions like recipe changes
- Charts - Visualize inspection metrics over time
- Gauges - Monitor values within a range
- Text displays - Show current camera status
- Sliders - Adjust parameters in real-time
Steps to Create a Dashboard
- Add UI Nodes to Flows
Drag and drop UI nodes from the palette into your flows to define the data and controls you want to include in the dashboard - Configure UI Nodes
Configure the properties of each UI node, such as labels, ranges, and data sources - Arrange Components
Use the layout manager to arrange the UI components on the dashboard, creating a logical and user-friendly layout - Deploy and Access Dashboard
Deploy your flows and access the dashboard by navigating to the appropriate URL (typically [http://{hostname}/ui])
Working with Node-RED in the OV20i
Accessing the Editor
The Node-RED editor in your OV20i camera can be accessed through the UI in:
Default Flow
The OV20i comes with a pre-configured default flow that handles basic inspection operations. This serves as a starting point for your custom configurations and demonstrates best practices for camera integration.
OV20i Custom Nodes
The camera extends Node-RED with specialized nodes designed for vision applications:
- Classification Logic - Process classification results
- PLC Format - Format data for industrial controllers
- Final Pass/Fail - Determine inspection outcomes
Integration Capabilities
The Node-RED environment in the OV20i supports integration with various industrial systems:
- PLCs via Ethernet/IP, Profinet, or Modbus
- MQTT for IoT applications
- HTTP/REST for web services
- Database systems for data logging
- HMI interfaces for operator control
Best Practices
Flow Organization
- Keep flows organized by function
- Use comments to document complex logic
- Name nodes clearly to indicate their purpose
- Use subflows for repeated patterns
Performance Considerations
- Minimize the number of debug nodes in production
- Consider the impact of high-frequency triggers
- Use context variables efficiently
- Test thoroughly before deployment
Backup Strategy
- Regularly export and save your flows
- Document your configuration changes
- Consider version control for team environments
- Test restored flows before production use
Information
More information about the Node-RED platform can be found on their website - https://nodered.org/
¿Fue útil este artículo?