- 15 Nov 2024
- Print
- PDF
Label And Train (Segmentation)
- Updated on 15 Nov 2024
- Print
- PDF
Use the Label and Train page to train a deep-learning model to take an image and segment classes at a pixel-level based on labeled defects.

Preview
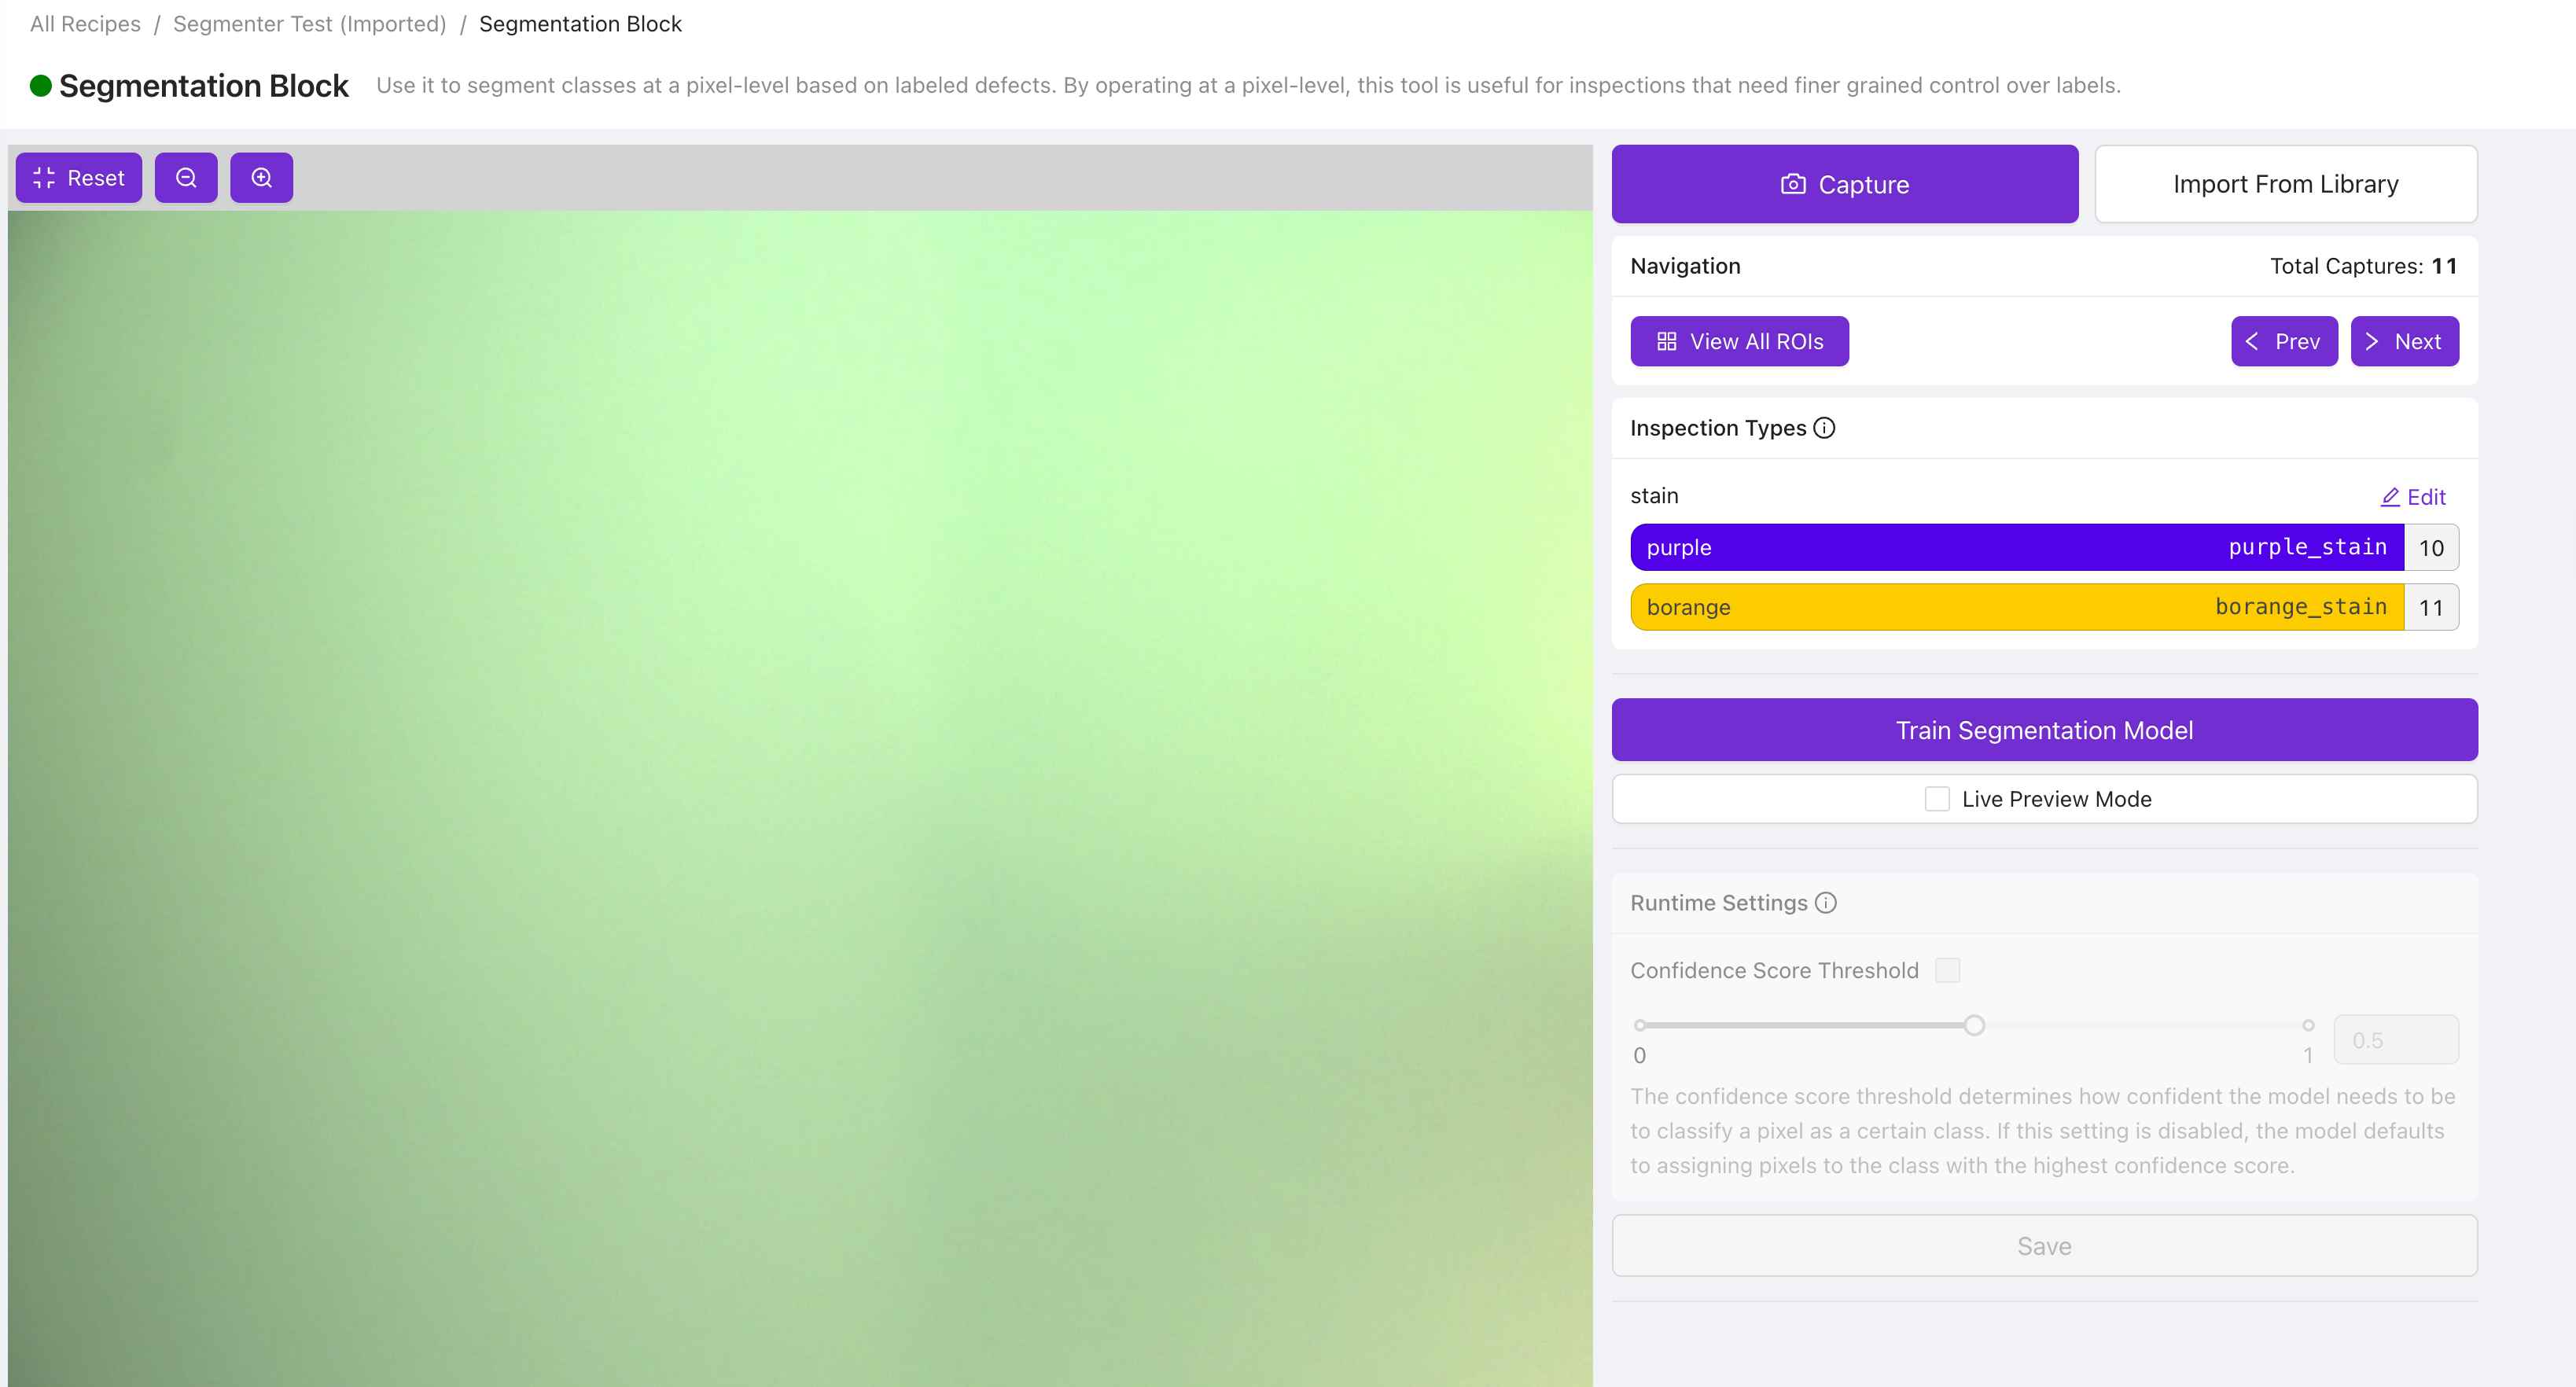
The preview pane (on the left-hand side) displays a live preview until an image is captured or is selected using the Navigation menu.
Capture/Import
Capture: This lets you take a new Capture and use it to train a model.
Import From Library: This lets you add images stored in your Library for training.
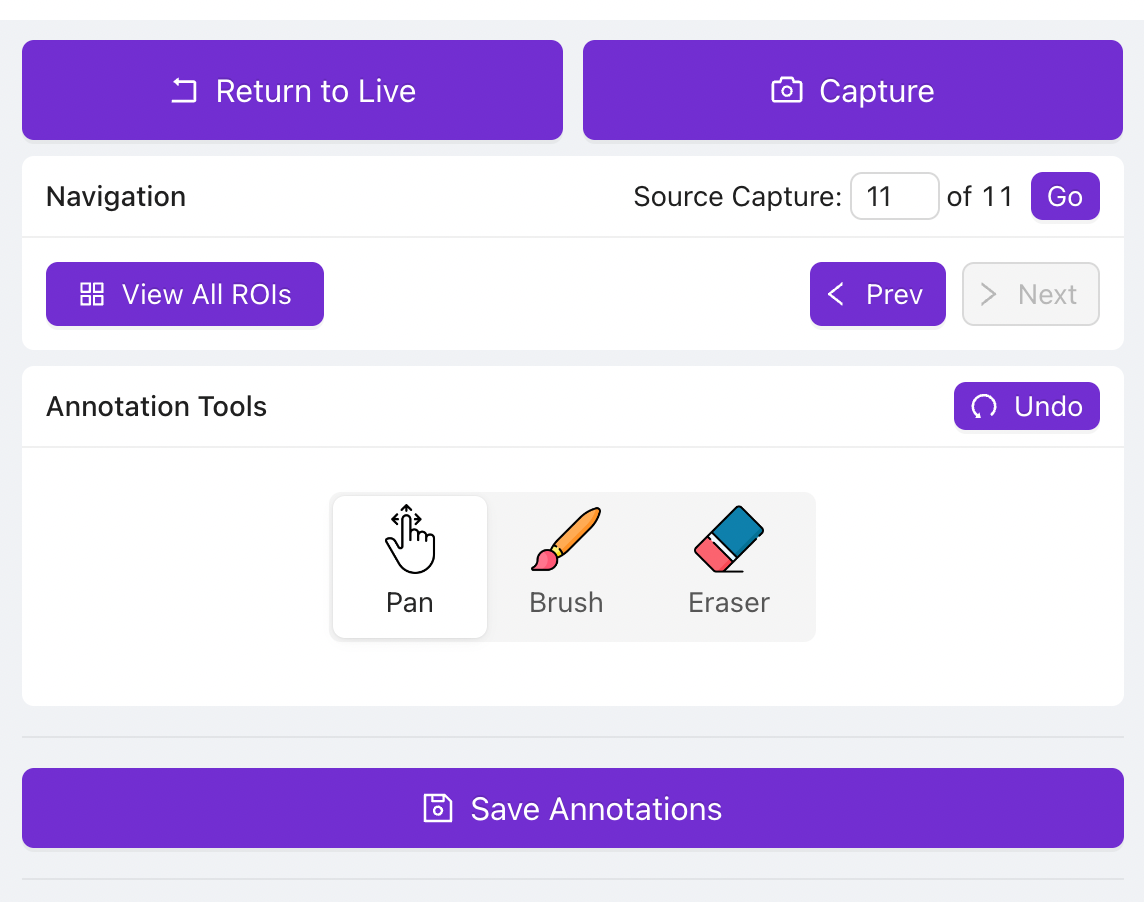
Navigation
View All ROIs: This modal shows each labeled ROI cropped from its parent image. It lets you easily visualize all of your training data and verify that they are all labeled correctly and consistently.
Tips to check label integrity
Set the opacity slider to 0 to see the images without any labelling overlays and then increase it slowly to 0.5 to make sure the overlays are drawn precisely.
< Prev: Click to view the previous captured image.
> Next: Click to view the next captured image.
Tips to Navigate across captures
You can enter the Source Capture number to navigate to a particular image directly.
Train Segmentation Model
Click to train a segmentation model based on your labeled images.
Number of Iterations: Use the arrows on the right-hand side of the field to increase or decrease how many times the labeled images are shown to the model to help it learn.
Advanced Settings: Click to access image augmentation options (flip image, adjust rotation range, image brightness, and contrast).
Live Preview Mode
Runs the aligner, ROIs, and segmenter blocks in real-time allowing you to test its performance and confidence on different situations and parts (after training it).
Runtime Settings
Confidence Score Threshold: This lets you control the model’s sensitivity to detecting defects. If you want the model to be very sensitive and detect more things, decrease the slider. If you want the model to be more selective in detecting things, increase the slider.
Note
You can only adjust this setting when Live Preview Mode is enabled.
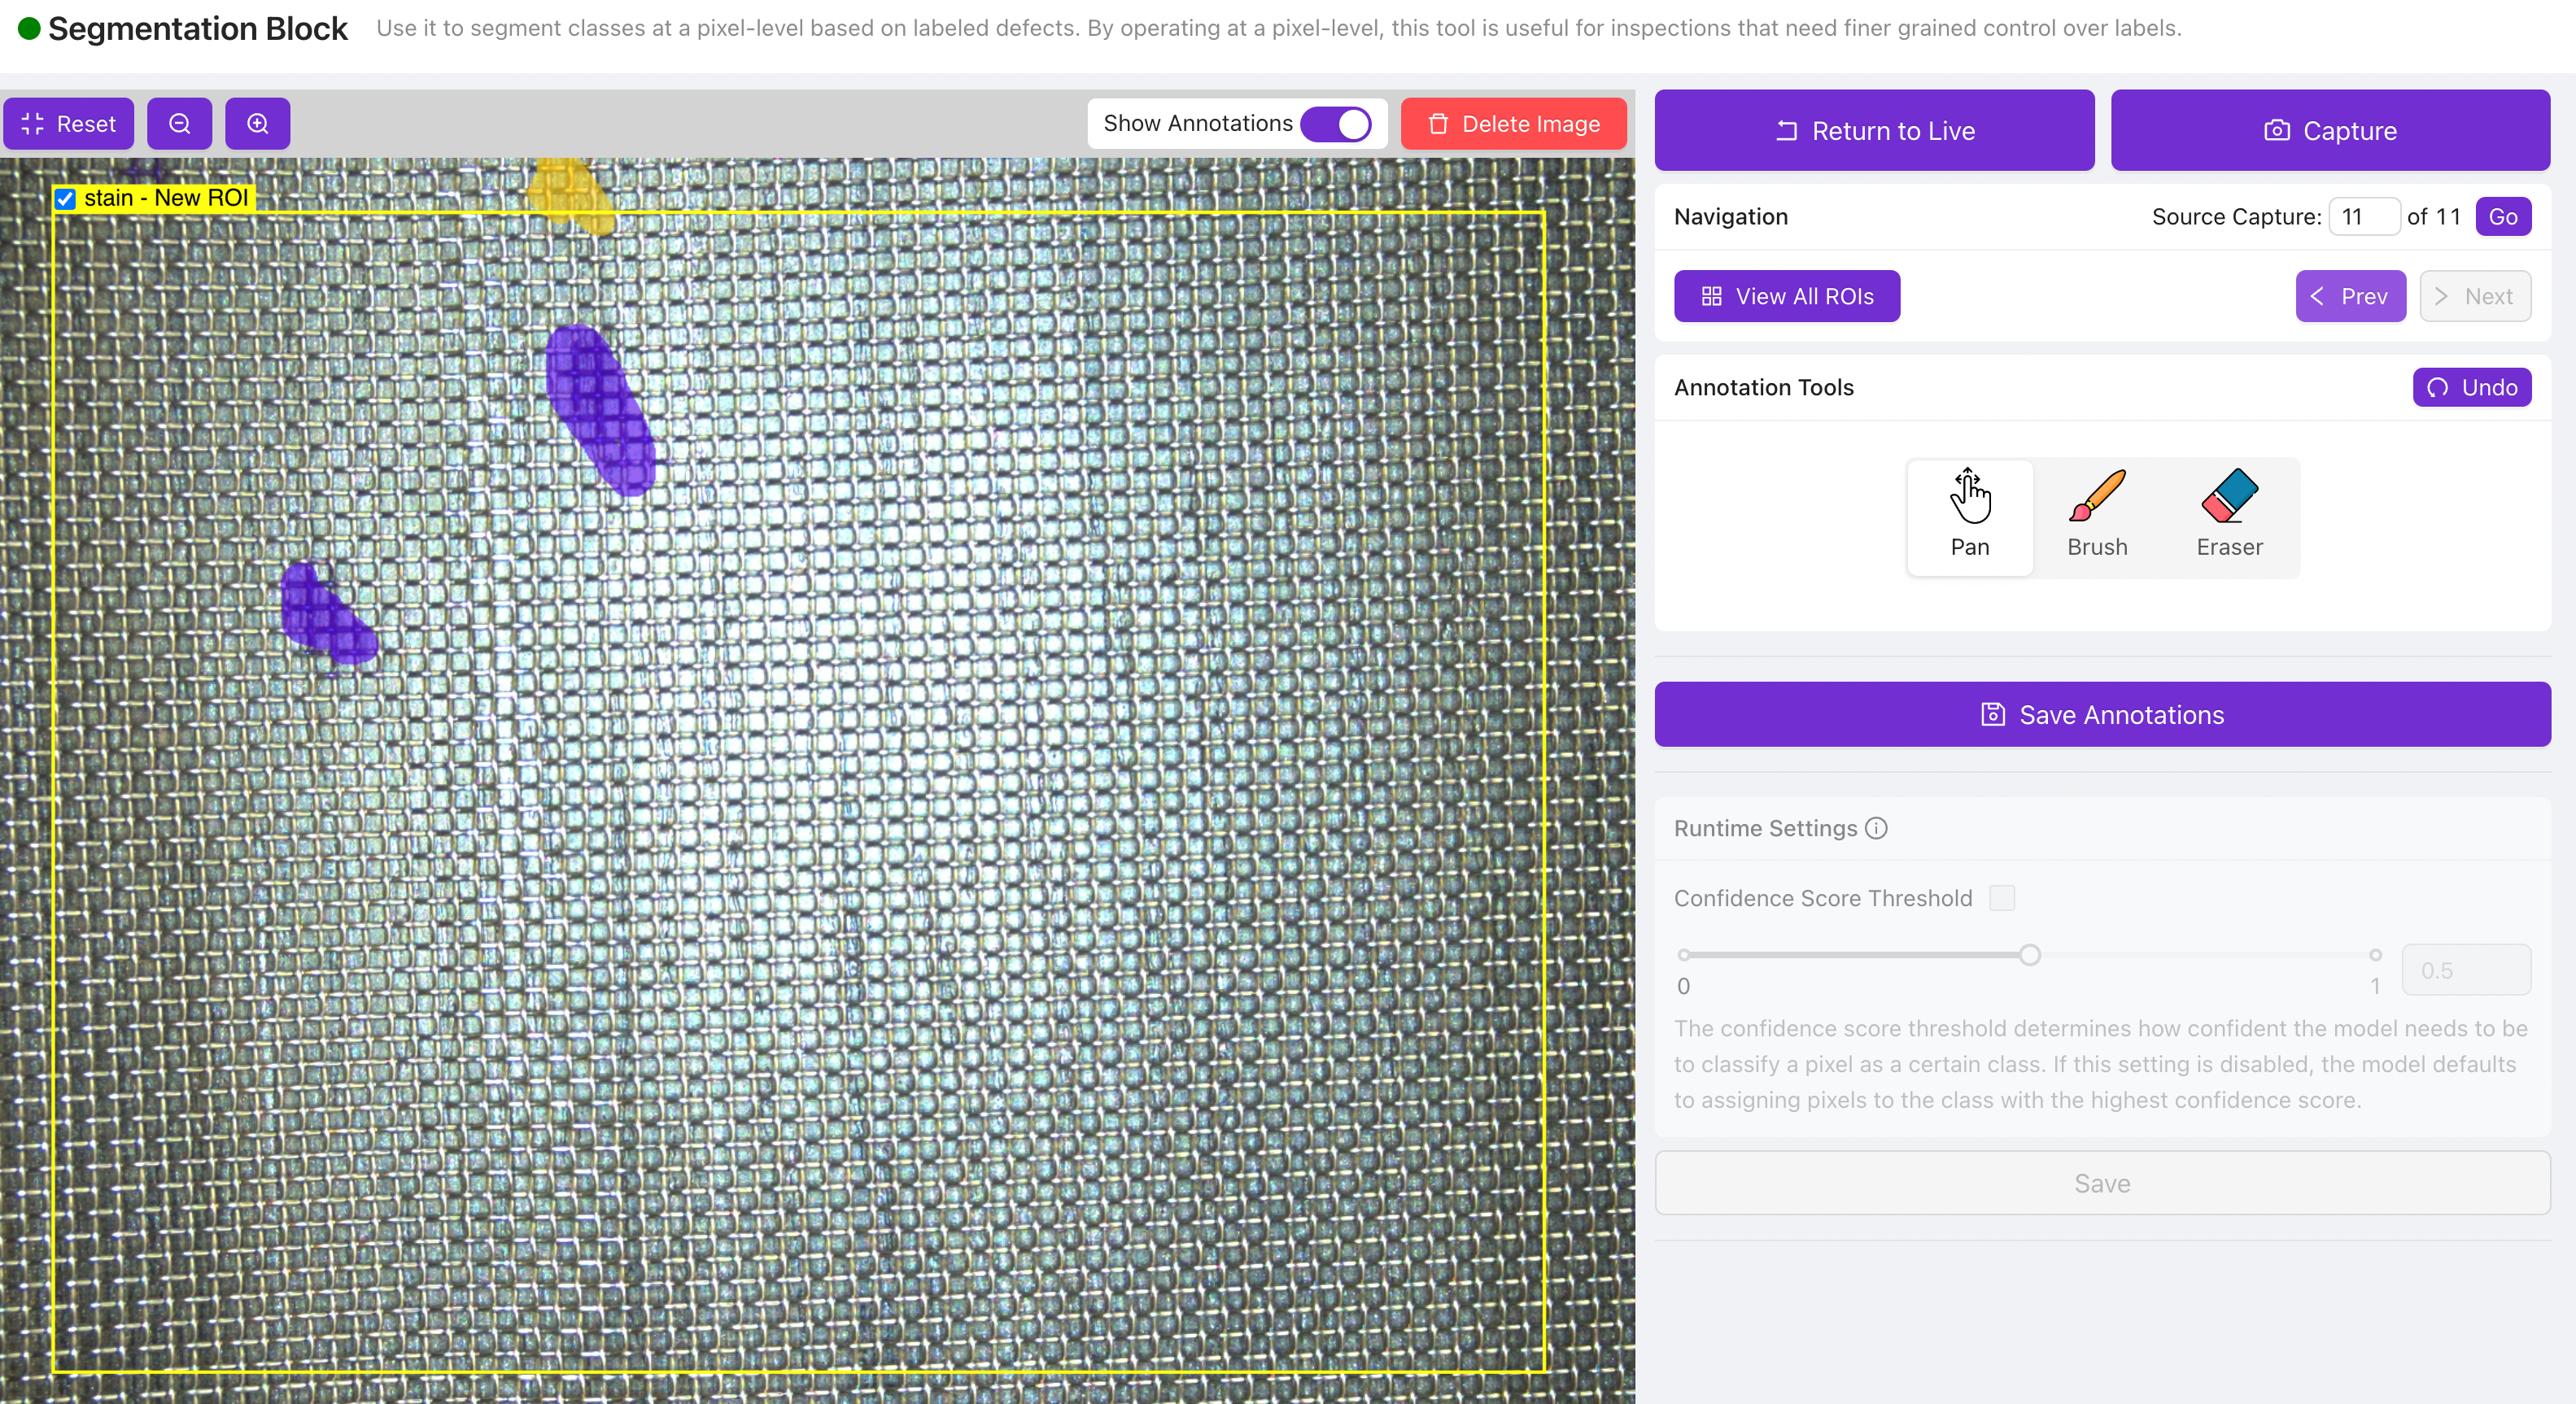
Annotation Tools

Pan: This lets you pan/move the image around.
Brush: This lets you draw on the image. You can use this to highlight the areas of the image that you want the model to learn to detect.
.png)
Use the Brush Class dropdown to select the class of the area you are going to be highlighting.
Pick a Brush Size that lets you precisely cover the part of the image that you want the model to learn to detect.
Eraser: The eraser lets you erase the annotations that have been drawn.
AI: Use AI to help annotate segmentation data much faster and intelligently. The AI annotation tool acts like a "magic wand", and will automatically annotate additional areas of the image that are visually similar to the selected patch. The tool can be used to both smartly label and unlabel areas of the image. By using this tool, annotating segmentation data is not only much faster to do but also more consistent and accurate. For more complex defects, it is useful as a first-pass to bulk annotate relevant areas before fine-grained annotation by hand.
Show Annotations: Toggling this off lets you see the image without the user drawings overlayed on them and toggling this on lets you see the image with the user drawings overlayed on them.
Important
Drawing on the image is not sufficient to add the ROI to the training dataset. You have to explicitly check the checkbox present at the top left of the ROI to add it to your training dataset.
Segmentation Labelling Best Practices
The segmenter model will roughly mirror the precision of how well you paint/label the training images. So, try to be as precise as possible when labelling them.
In your efforts to draw precisely, if you have to decide between slightly overdrawing and fully covering the defect or slightly underdrawing and leaving out a part of the defect, choose to overdraw and fully cover the defect.
When annotating a segmenter training image, you are showing the model what to detect by drawing on it, but you are also showing the model what to ignore through all the parts of the image where you have not drawn. So, make sure to draw on all instances of the defects you are trying to detect in the image.
Adjust your imaging setup to make sure that each instance of the defects that you are trying to detect are at least 6 pixels in radius (you can use the brush sizes for reference) to give you the best odds at training a successful model. You can get a production grade model even on defects that are less than 6 pixels in radius. This is just a good setup to aim for.


